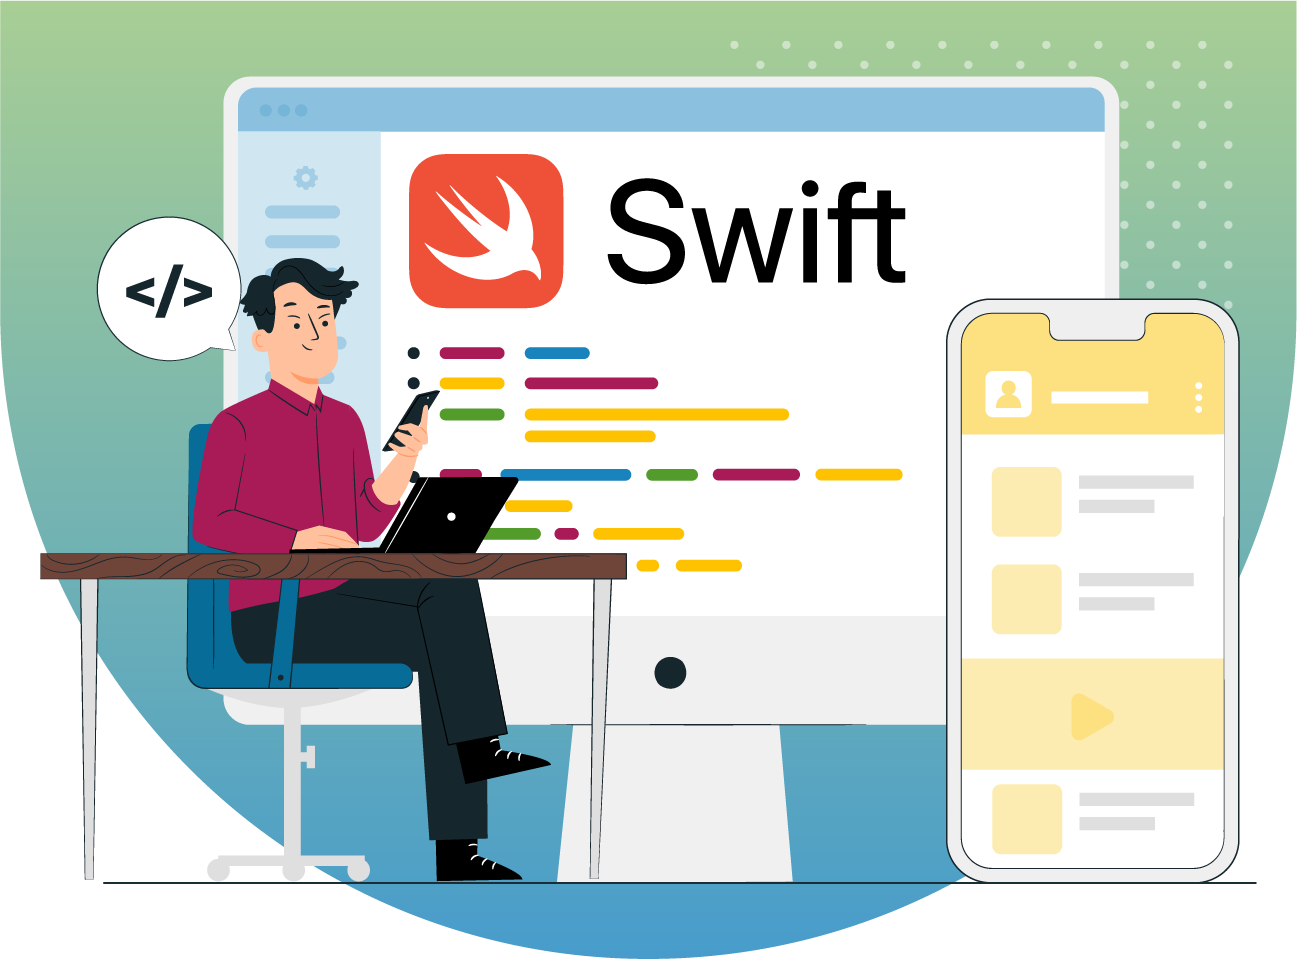
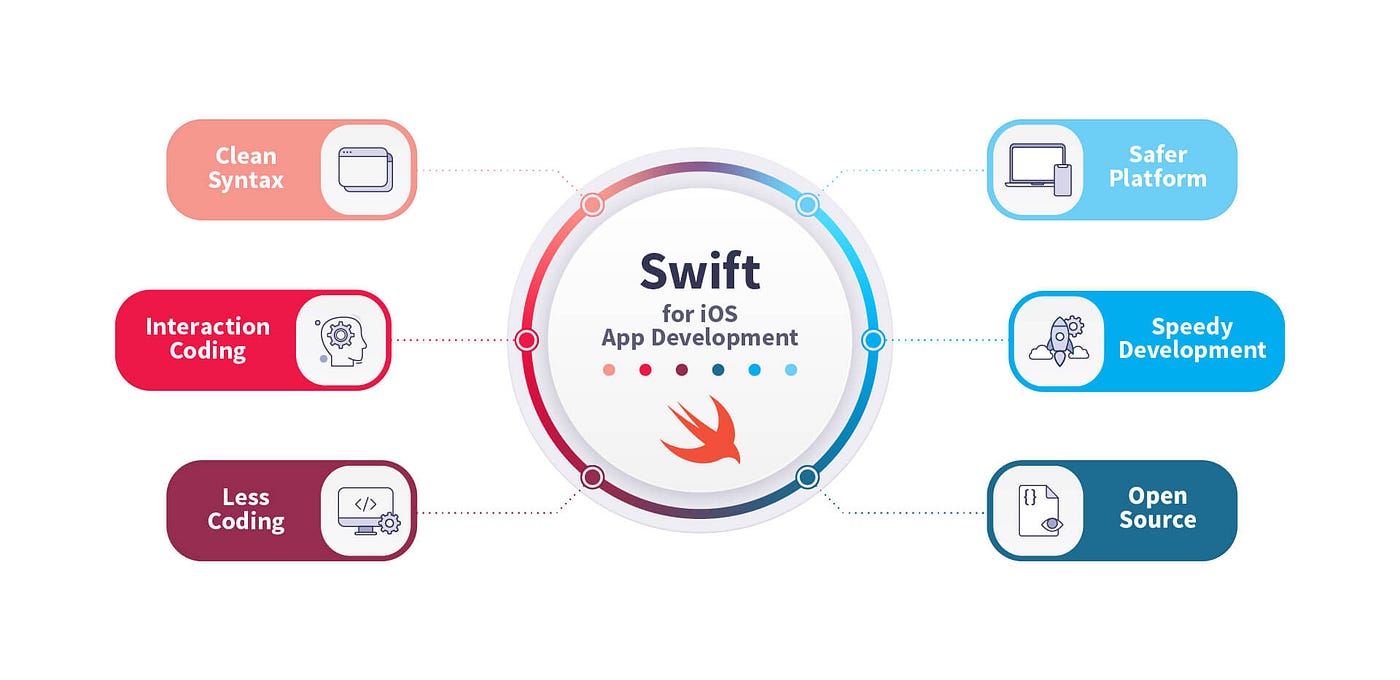
Swift is the most modern and powerful programming language for developing iOS applications, designed by Apple with the goal of simplifying the learning process and increasing development efficiency. Specifically, mastering core Swift tips from the outset will help beginners build a solid foundation within 2-3 weeks, while also avoiding common pitfalls encountered by many developers. More importantly, with the right learning path, you can effectively transition from a complete novice to building your first iOS application.
To embark on a successful iOS development journey, you need to set up the appropriate development environment and achieve key milestones, master core Swift concepts like Optionals and Value Types, and decide between SwiftUI and UIKit based on current trends. Furthermore, adopting coding best practices from day one, building suitable practical projects, and understanding common mistakes to avoid will lay a strong foundation for your career as an iOS developer. Moreover, preparing all necessary tools and accounts will enable you to develop and publish professional applications.
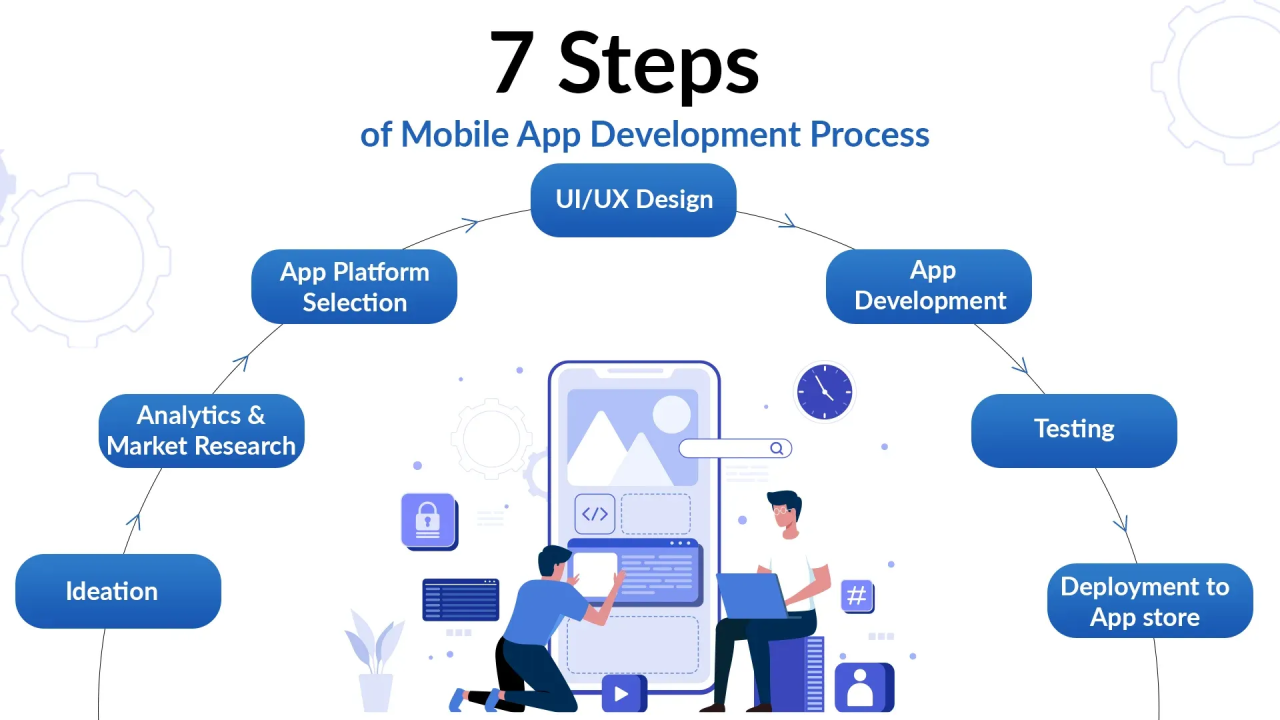
The most effective Swift learning roadmap for beginners comprises 3 main stages over 2-3 weeks: setting up the environment and learning basic syntax (Week 1), mastering advanced concepts and choosing a UI framework (Week 2), and then building your first application for practice (Week 3).
To begin this journey systematically, you need to follow a scientifically designed roadmap with clear checkpoints. Specifically, the initial phase focuses on familiarizing yourself with the Xcode environment and the Swift language, while subsequent stages delve into practical applications and building complete products.
Setting up the development environment correctly involves 4 core steps: installing Xcode from the Mac App Store, configuring the iOS Simulator, setting up Swift Playgrounds for quick experimentation, and verifying Command Line Tools.
The first step is to download Xcode (approximately 15-20GB) from the Mac App Store, ensuring you have sufficient storage and a stable internet connection. Next, open Xcode and allow it to install additional components when prompted. Crucially, configuring the iOS Simulator via Xcode > Settings > Platforms will enable you to test your applications on various virtual devices.
Swift Playgrounds can be accessed through File > New > Playground in Xcode, providing an ideal environment for testing Swift code without needing a complete project. Finally, check the Command Line Tools in Xcode > Preferences > Locations to ensure you can use the Swift compiler from the Terminal when necessary.
The key learning milestones in the first two weeks include mastering Variables/Constants and Optionals (Days 1-4), understanding Functions and Control Flow (Days 5-8), familiarizing yourself with basic SwiftUI Views (Days 9-12), and building an interactive "Hello World" application (Days 13-14).
The first week should be entirely dedicated to Swift Playgrounds to learn syntax. Specifically, you need to clearly distinguish between let (constant) and var (variable), grasp basic data types (String, Int, Bool, Array, Dictionary), and most importantly, understand Optionals – a concept that helps prevent 80% of common crashes.
The second week shifts to hands-on practice with SwiftUI. The goal is to create simple Views like Text, Button, VStack/HStack, and learn how to use @State to manage dynamic data. By the end of week 2, you should have completed a simple counter app or a basic interactive to-do list.
The 5 core Swift concepts that every beginner must master include Optionals and safe unwrapping, Value Types (Structs) vs Reference Types (Classes), Type Safety and Swift's type system, Control Flow patterns (guard, if-let), and Functions with basic Closures.
Mastering these concepts forms the foundation for your entire iOS development journey. In particular, these concepts not only help write efficient code but also prevent severe runtime errors that can crash applications and impact user experience.
Optionals in Swift are a safe mechanism for handling values that might be nil, declared with a ? after the type, and can be safely unwrapped using optional binding, nil coalescing, or optional chaining.
To handle Optionals safely, you have 4 main recommended methods. First, use Optional Binding with if let or guard let for conditional unwrapping. Second, apply the Nil Coalescing Operator (??) to provide a default value. Third, use Optional Chaining (?.) to safely call methods on an optional.
Absolutely avoid Force Unwrapping (!) unless you are 100% certain the value is not nil. Force unwrapping can cause the application to crash immediately if the value is nil, leading to a poor user experience.
Value Types (Structs) create a new copy when assigned or passed to a function, while Reference Types (Classes) share the same instance in memory, with Structs being recommended in most cases due to their safety and better performance.
Swift prioritizes value semantics because they offer numerous benefits. Specifically, when modifying a Struct, the original is not affected, making the code easier to debug and maintain. Structs are also safer in a multi-threading environment because there is no shared state.
// Struct (Value Type) - Copied
struct Person {
var name: String
}
var person1 = Person(name: "John")
var person2 = person1 // Creates a copy
person2.name = "Jane"
print(person1.name) // Still "John"
// Class (Reference Type) - Shares reference
class PersonClass {
var name: String
init(name: String) { self.name = name }
}
var personA = PersonClass(name: "John")
var personB = personA // Same reference
personB.name = "Jane"
print(personA.name) // Has changed to "Jane"
Use Classes only when you genuinely need inheritance, identity comparison, or deinitializers. According to Apple's API Design Guidelines, the general rule is to "prefer Structs" for safer and more performant code.
Yes, beginners should start with SwiftUI for three main reasons: its declarative syntax is 60-70% easier to learn than UIKit, it is Apple's preferred direction for future development, and it has a significantly shorter learning curve thanks to live preview and less boilerplate code.
SwiftUI was introduced by Apple in iOS 13 (2019) and has become the official UI framework for new projects. In particular, with declarative syntax, you simply describe the desired interface rather than implementing each step as in UIKit, significantly reducing learning and development time.
SwiftUI has a significantly shorter learning curve due to its intuitive declarative syntax, immediate live preview, and less code required to create the same interface, whereas UIKit demands a deep understanding of Auto Layout, delegate patterns, and manual memory management.
With SwiftUI, beginners can see results instantly through Xcode Previews, creating a fast feedback loop and increasing learning motivation. Conversely, UIKit requires more boilerplate code and a deeper knowledge of design patterns like MVC.
However, UIKit remains important for maintaining legacy code and certain advanced features not yet available in SwiftUI. The recommendation is to start with SwiftUI, then learn UIKit as needed.
The 6 SwiftUI fundamentals to learn first include Views and View Hierarchy, State Management (@State, @Binding), Layout system (VStack/HStack/ZStack), List and ForEach, Navigation and data passing, and Basic user interactions.
Views are the building blocks of every SwiftUI interface. Start with Text, Image, Button before moving on to complex views. State Management is the most crucial concept – @State for local state, @Binding to share state between parent-child views.
Copy
// Basic SwiftUI structure
struct ContentView: View {
@State private var count = 0
var body: some View {
VStack {
Text("Count: \(count)")
Button("Increment") {
count += 1
}
}
}
}
Layout with Stack views helps arrange UI elements vertically (VStack), horizontally (HStack), or as an overlay (ZStack) in an intuitive and easy-to-understand manner.
The 7 most important coding best practices include using meaningful naming conventions, prioritizing immutability with let, avoiding force unwrapping entirely, using guard statements for early returns, implementing proper error handling, writing small and focused functions, and adding documentation for public APIs.
Applying best practices from the beginning helps prevent technical debt and fosters clean coding habits. Specifically, these practices not only make code easier to read but also reduce bugs and crashes in production, while also facilitating teamwork.
Yes, beginners should completely avoid force unwrapping because it can cause severe application crashes if the value is nil; instead, always use safe unwrapping methods like optional binding, nil coalescing, or optional chaining.
Force unwrapping with the ! operator is essentially telling the compiler, "I am 100% sure this value is not nil," but if you're wrong, the app will crash immediately. This is particularly dangerous when dealing with user input, network responses, or data from external sources.
According to crash reports, force unwrapping is one of the leading causes of iOS app crashes, severely impacting user experience and app ratings.
Clean Swift code adheres to camelCase for variables/functions, PascalCase for types, descriptive names instead of abbreviations, verb-noun combinations for function names, and consistent formatting to make code self-documenting.
Naming conventions in Swift, following Apple's API Design Guidelines, help make code professional and maintainable. Specifically, variables and functions start with a lowercase letter (userName, calculateTotalPrice()), while Classes/Structs/Protocols start with an uppercase letter (UserProfile, PaymentProcessor).
Beyond naming, clean code requires proper indentation, meaningful comments for complex logic, and consistent formatting. Use SwiftLint to automatically enforce coding standards and maintain consistency.
A To-Do List App is the most ideal practical project for beginners because it covers all core concepts such as data modeling, user interface, state management, CRUD operations, and local persistence without being overly complex to overwhelm new learners.
The To-Do App project allows practicing many Swift concepts in a real-world context. Specifically, you will learn how to create data models with Structs, implement Create/Read/Update/Delete operations, handle user input, and persist data locally. This app is simple enough to complete in 1-2 weeks but can be extended with advanced features as your skills improve.
The 7 main steps to build a To-Do App include creating the project and data model, designing the main UI with a List, implementing Add functionality, adding Edit/Delete features, implementing a completion toggle, adding data persistence, improving UI styling, and adding basic error handling.
Steps 1-2 (Foundation): Create a Task struct with properties like id: UUID, title: String, isCompleted: Bool, createdDate: Date. Design the main screen with a NavigationView containing a List to display tasks and a toolbar button to add new tasks.
Copy
// Task model
struct Task: Identifiable, Codable {
let id = UUID()
var title: String
var isCompleted: Bool = false
let createdDate = Date()
}
// Main view structure
struct ContentView: View {
@State private var tasks: [Task] = []
@State private var showingAddTask = false
var body: some View {
NavigationView {
List {
ForEach(tasks) { task in
TaskRowView(task: task)
}
.onDelete(perform: deleteTasks)
}
.navigationTitle("My Tasks")
.toolbar {
Button("Add") {
showingAddTask = true
}
}
.sheet(isPresented: $showingAddTask) {
AddTaskView { newTask in
tasks.append(newTask)
}
}
}
}
}
Steps 3-4 (Core Features): Implement AddTaskView with a TextField for user input and validation. Add swipe-to-delete and edit functionality for existing tasks. Steps 5-6 (Enhancement): Add a toggle for completion status, implement UserDefaults persistence so tasks are not lost on app restart.
Basic testing and debugging involve using print statements for quick debugging, setting breakpoints in Xcode, writing simple unit tests for data models, and using the Simulator to test different scenarios such as memory warnings and orientation changes.
Debugging with breakpoints allows you to pause execution and inspect variables, and the call stack. Set a breakpoint by clicking on the line number margin or Cmd+. Use the Variable View in the debug area to examine object states and execute code snippets in the console.
The 7 most common mistakes for Swift beginners include force unwrapping Optionals, creating retain cycles with strong references, not handling errors properly, mutating structs incorrectly, overusing classes instead of structs, ignoring memory management, and poor naming conventions.

These mistakes can lead to crashes, memory leaks, and performance issues in production. Understanding and avoiding these errors from the start will save debugging time and build a strong foundation for advanced concepts.
Retain cycles occur when two or more objects hold strong references to each other, preventing ARC from deallocating memory, often occurring in closures, delegate patterns, and parent-child relationships.
Best practice is to always use [weak self] in closures unless you are absolutely sure self will exist longer than the closure. For delegates, always declare delegate properties as weak.
Proper error handling in Swift uses do-try-catch blocks, the Result type for async operations, throwing functions with the throws keyword, and graceful error presentation instead of letting the app crash or fail silently.
Error handling is crucial because it helps the app gracefully handle unexpected situations like network failures, invalid input, or file system errors without crashing. Good error handling improves user experience by providing meaningful feedback and recovery options.
Key principles: never ignore errors, provide user-friendly messages, log technical details for debugging, and offer recovery actions when possible.
Not entirely, you can start learning Swift on an iPad with Swift Playgrounds, but a Mac is essential for serious iOS development because Xcode only runs on macOS, and a paid Developer account ($99/year) is only needed when ready to publish to the App Store.
The Mac requirement is an absolute necessity for full iOS development as Apple does not provide Xcode for Windows/Linux. Alternatives like cloud-based Mac services (MacinCloud, AWS Mac instances) exist but have limitations in performance and cost. Budget-friendly options include a Mac Mini or a used MacBook Air.
Swift Playgrounds on iPad is excellent for learning Swift fundamentals and basic programming concepts with interactive tutorials and a touch-friendly interface, but Xcode on Mac provides a complete development environment with the full iOS SDK, debugging tools, and App Store publishing capabilities.
Swift Playgrounds advantages: portable, immediate feedback, built-in learning content, no need for an expensive Mac. Limitations: cannot create full iOS apps, limited UI components, no access to advanced frameworks, cannot test on real devices.
Recommended approach: Use Swift Playgrounds to learn Swift basics, then transition to Xcode to build actual apps. The combination of both tools maximizes learning efficiency.
Minimal requirements include a Mac with Xcode, an Apple ID (free), an Apple Developer Program membership ($99/year), and a completed app with proper metadata, icons, and privacy compliance.
Apple Developer Program benefits: App Store distribution, access to beta iOS versions, advanced app capabilities (push notifications, CloudKit), analytics, and technical support incidents.
Publishing process:
Cost breakdown: $99/year for the Developer Program is mandatory. Additional costs may include third-party services, design tools, backend services, and a marketing budget.


Leave a Reply
Your e-mail address will not be published. Required fields are marked *